The first four months of 2017 were amazing. The last eight, however, were full of life changes, stress, and turmoil. I am now divorced for the second time, I have relocated to Des Moines, and have been working diligently since mid-September to make my new house a home. One of the things I miss most about my old house (besides my totally kick ass neighbors) is the wall of birch trees I painted in the living room.
I had a wall picked out in my living room for this very project, until I was showing online pictures of my new place to my friend Jason and he brilliantly suggested the stairway wall, which could still be seen from the living room. PURE GENIUS. So this wall would not be near as amazing without his help. THANK YOU, JASON!
Since this is round 2 of birch trees, I decided to chronicle this one a little better. I have each stage and each color used ready to show you in case you feel like trying this at home. It's not as difficult as it looks.
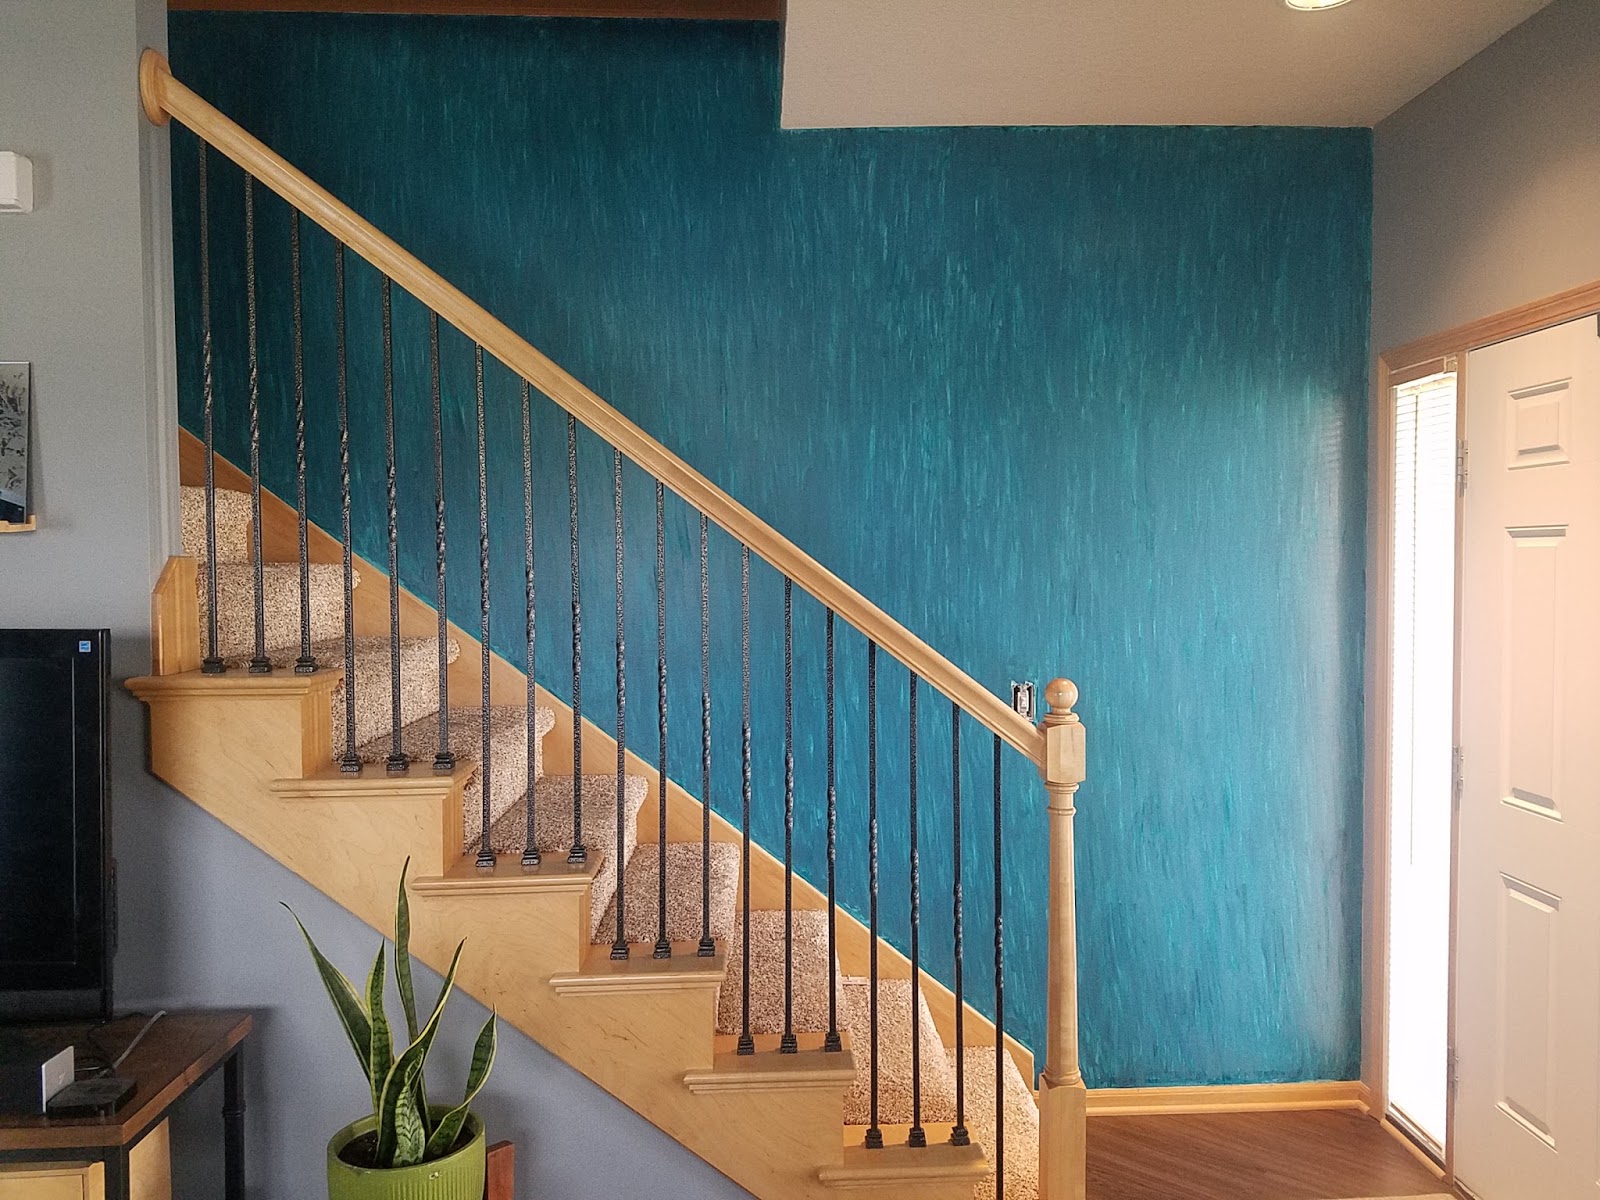
Here's the original stairway.

Here are the supplies I used for everything except the tree details. LOTS of small sponge brushes, a trim roller, four background colors, and three colors for the trees.

My first step was using the sponge brushes and my bedroom paint color for the base layer. My reason for using the sponge brushes and multiple colors is to create a textured look to the wall even though there is no texture.


It reminds me of one of those melted crayon canvases on Pinterest. This first color took 2 hours to do. Here's what it looked like when finished.


After that second color, I lost my ambition and a few weeks went by. I then found my motivation again, and painted the third coat. Sherwin Williams Oceanside Blue. I feel like this one only took an hour. Mostly because I didn't do much edge work with it.


The last background color went on on a few days later. Valspar's Classic Teal. Back to a color with a little more green in it. This one took 90 minutes again because I paid more attention to the edges.


On colors 2-4, I painted in 6"-12" sections. This allowed me to work my way from left to right and kept me from missing any spots. Below is the difference between the 3rd and 4th colors.

December 23rd I added the trees using the small roller brush to do placement, and then a paintbrush to finish up. I needed 2 coats of paint, shown below.


There are 7 trees, completely random placement, and because I wanted this mural to be different than the last one, so there are no branches, and I decided to have a leaning tree that goes across the light switch, for no other reason than to be a little "offbeat".
Then I lost momentum again, with Christmas in Cedar Falls, and the day after Christmas driving to Florida for a much needed vacation with my boys, a friend of mine and her son. When I got back I had to turn around and fly to Seattle for work. And I was still in need of some detail brushes, as none of my old ones moved with me. Last weekend I bought the brushes, so Tuesday night, slightly more than 3 weeks after the trees went up, I finally decided it was time to finish the trees.

I used a small angled brush for the "shadow" and a fan brush for the bark. I put some paint on paper plates for the bark, so it was more of a dry brush technique. And I channeled my inner Bob Ross to make my happy little trees using these colors:


And now...
drum roll please...
The whole wall!


I LOVE IT!! See how the light switch just blends in? The texture looks amazing, and I am very happy with the effects of the fan brush. LOVE LOVE LOVE!
And because I am such a dork, I named my trees. You heard me right! With character names from some of my favorite TV shows and movies. From left to right: Olive (Penderghast) Easy A; Iris (Simpkins) The Holiday; Samantha (Jones) Sex and the City; Summer (Finn) 500 Days of Summer; Regina (George) Mean Girls; Fat Amy - Pitch Perfect; Lorelai (Gilmore) Gilmore Girls.
It's just me and my BIRCHES.
See what I did there?
For more design updates of my new place, organization ideas, and general awesomeness, please LIKE my Facebook Page: www.facebook.com/ElocinDesignsIowa. Thanks for visiting my blog!
Niki
No comments:
Post a Comment